Prerequisites for Microsoft Windows systems
WSL2, Python, and VS Code setup for developing Cloud Functions on Windows.
Microsoft Windows system setupIf you are not using a Microsoft Windows machine, you can skip this article. Cloud Functions tooling is built for UNIX, so macOS and Linux users can install Python, Docker, and Node.js directly and start developing. The steps below add WSL2 to a Windows machine so the same tooling works.
The Makefile that drives a Cloud Function workspace relies on UNIX technologies. Modifying it would break the workspace, so on Windows we instead run the workspace inside WSL2 (Windows Subsystem for Linux) — giving you a UNIX-compatible environment alongside Windows.
Step 1 - Install WSL2 and Ubuntu 24.04
-
Open PowerShell as administrator: Right-click the Start menu and select Terminal (Admin), or search for Windows PowerShell, right-click, and Run as administrator.
-
Install WSL and the Ubuntu distribution: Run
wsl --install -d Ubuntu-24.04. Verify withwsl --version.To install a specific Ubuntu version, list available distributions with
wsl --list --onlineand specify it as done above.We recommend a recent and up-to-date Ubuntu version. -
Reboot your PC to complete setup.
-
Launch Ubuntu from the Start menu (search "Ubuntu 24.04"). On first launch you'll be prompted to create a UNIX username and password — store these somewhere safe; the user will have
sudoprivileges. -
Verify the installation by running
wsl -l -vin PowerShell. This shows installed distributions and their WSL version (you want version 2). -
You can start Ubuntu anytime by searching "Ubuntu" or "WSL" in the Start menu, or by running
wsl -d Ubuntu-24.04in your Windows PowerShell or CDM terminal. Your prompt will look like:username@LT-username:~$OptionalTo start WSL as root, run
wsl -u root. The prompt will look likeroot@DESKTOP-ABC123:/mnt/c/Users/username#.
Step 2 -Install Docker Desktop
To work with Cloud Functions on a Microsoft Windows machine, you will first need to Install Docker Desktop. Doing so will automatically also install the Docker Engine on your system.
How to allow Docker commands to be used in the WSL CLI
This step is necessary to allow Docker commands to be run in WSL by either the user or the Makefile.
Follow these steps:
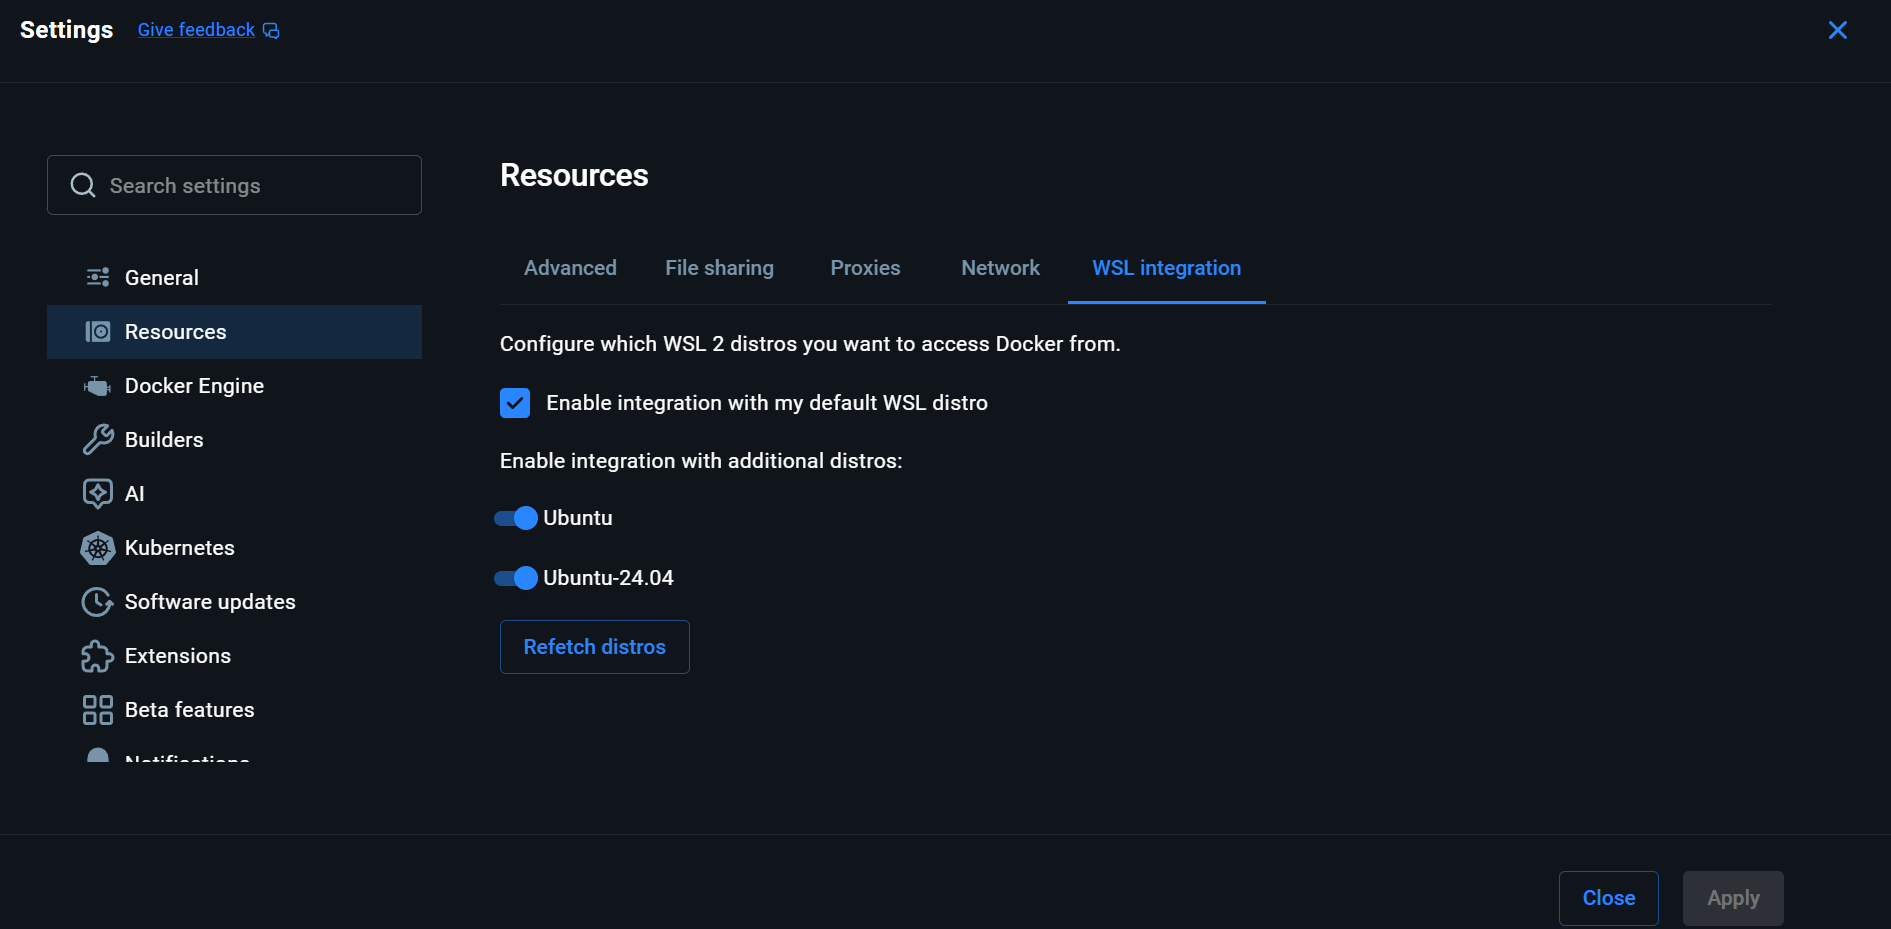
- Open Docker Desktop and navigate to Settings > Resources > WSL Integrations.
- Make sure to check the Enable integration with my default WSL distro option.
- Just to be sure, you can also enable the intergration with additional distros.
Your setup will look roughly like this:
Step 3 - Install Python 3 in Ubuntu
You will need Python and its kit installed on your Linux distro.
Open your Ubuntu terminal, and follow these steps:
- Update package lists:
sudo apt update && sudo apt upgrade. - Install Python 3, pip, and venv:
sudo apt install python3 python3-pip python3-venv. Verify withpython3 --versionandpip --version.
The Python version you need depends on the ixoncdkingress version you're using:
- Python 3.12.X or higher X — for
ixoncdkingress v1.x.x(recommended). See Updating the Cloud Function workspace for the upgrade path.
Any Python version besides 3.12.* will NOT work.
Step 4 - Use WSL and Ubuntu through VS Code
Prerequisites: VS Code installed on Windows, WSL & Ubuntu set up, Python 3 installed in WSL & Ubuntu.
Editor choiceThis guide uses VS Code, but any editor with a WSL extension works the same way.
-
Install Visual Studio Code on Windows.
-
Install the WSL extension from the VS Code Extensions marketplace:
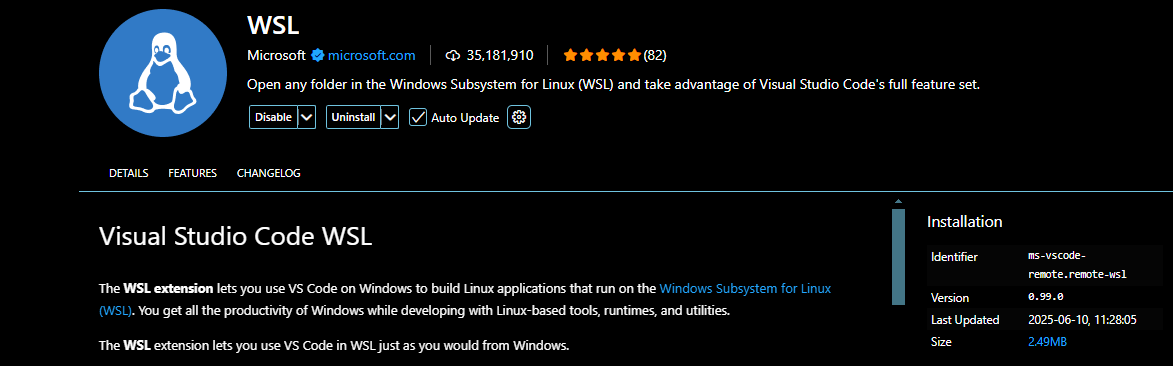
The extension's marketplace page has a detailed setup guide.
-
Open a folder in WSL. Press Ctrl+Shift+P (or View > Command Palette), type WSL: Open Folder in WSL…, and select your project. VS Code will open a new window connected to your default WSL distro.
Reaching your Windows driveIn WSL, your Windows drives are mounted under
/mnt. YourC:drive is at/mnt/c. After choosing WSL: Open Folder in WSL… you'll start in/home/username— clear that and typemnt, then browse toc/Users/...and your project.
Alternatively, open a WSL terminal in a regular VS Code window,
cdto your project folder, and runcode ..With either approach, the project folder opens in VS Code through the WSL environment, with the venv provided by IXON's development setup. All required dependencies and tools work seamlessly without anything special in
requirements.txt.
You now have a working WSL environment driving VS Code.
Optionals
You can open a Windows folder in VS Code from a WSL terminal using:
cd "/mnt/c/Users/<your_Windows_username>" && code .
This line won't work without&&!
Already in a WSL bash terminal in VS Code?Use this instead:
code "/mnt/c/Users/<your_Windows_username>"
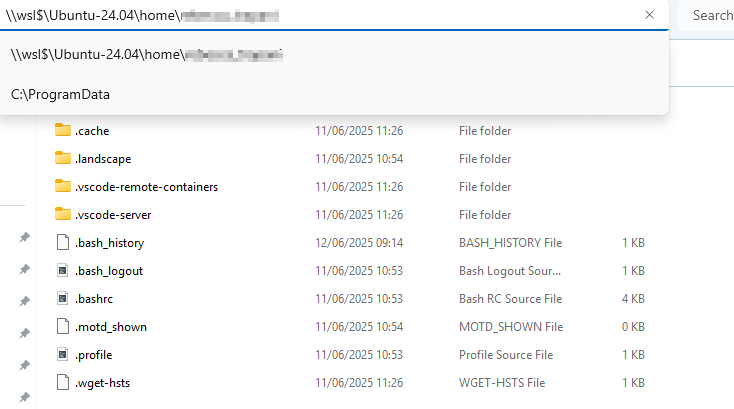
You can browse WSL files from Windows File Explorer at \\wsl$\Ubuntu\home\<your_linux_username>. Replace Ubuntu with your distro name if different. Your Linux username likely has an underscore separating first and last name and no capitals.